
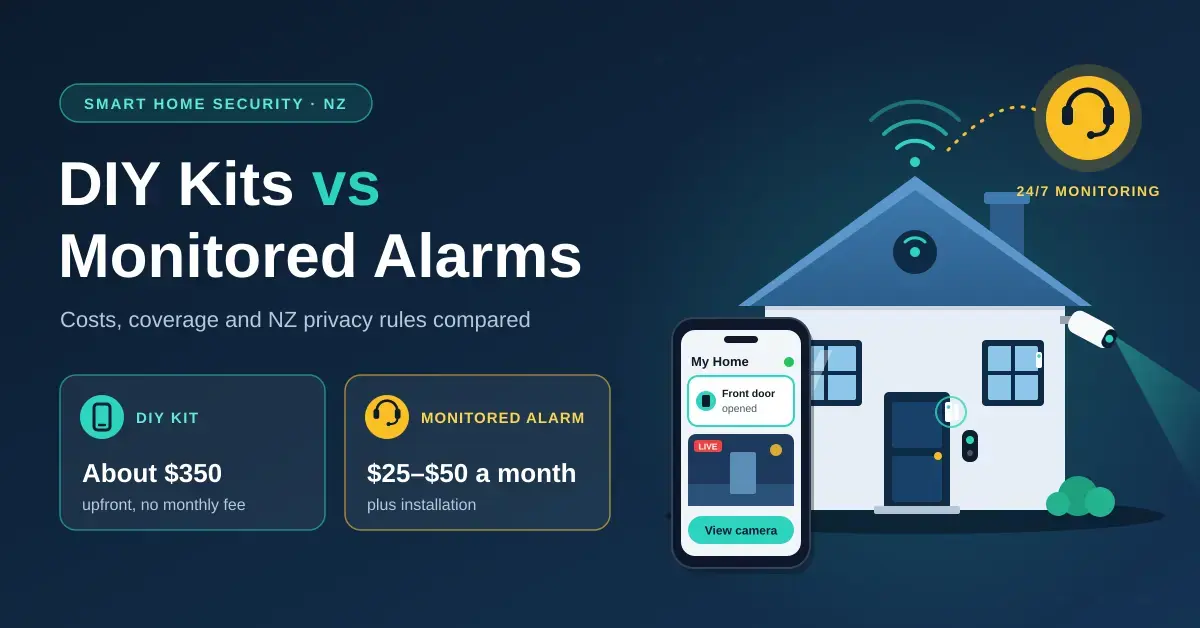
Smart home security in New Zealand comes down to two main paths: a do-it-yourself (DIY) kit you watch from your own phone — a hub, door sensors, a camera and a video doorbell for around $350 — or a professionally monitored alarm that a company watches for you, usually for about $25-$50 a month plus installation. This guide compares the two, shows how to layer sensors and cameras so they actually catch a break-in, and covers the New Zealand privacy rules that apply the moment a camera goes up. Prices and availability were checked in September 2026.
In practice most households end up with a blend: contact sensors on the doors, one camera covering the front, and alerts on a phone. If smart devices are new to you, start with our beginner’s guide to smart home devices in NZ, then come back here to choose a security setup.
Key points
- DIY self-monitored kits cost a few hundred dollars upfront and nothing monthly — you are the one who responds to alerts.
- Professional monitoring runs about $25-$50 a month, usually needs an installed alarm panel, and can add guard callout fees for false alarms.
- Layer it: cameras at the perimeter, contact sensors on entry points, and a motion sensor or indoor camera to confirm.
- Ring Alarm is not sold in New Zealand, so choose kits made for the local market.
- Point cameras at your own property; the Privacy Commissioner’s guidance on neighbours is clear.
DIY kit or monitored alarm: which suits your home?
The right choice depends on who responds when an alarm goes off. A DIY self-monitored kit sends the alert to you, costs a few hundred dollars once and nothing each month. A professionally monitored alarm sends the alert to a monitoring centre that phones you and can dispatch a guard, but it needs a compatible alarm panel and an ongoing subscription. The table below sums up the trade-offs before we get into the detail.
Comparison
| Feature | DIY self-monitored | Professionally monitored |
|---|---|---|
| Who installs it | You, in an afternoon | An alarm installer |
| Upfront cost | About $300-$400 for a typical kit | Quoted per home |
| Ongoing cost | $0, unless you add camera cloud plans | About $25-$50 a month |
| Who responds | You, family or a neighbour | Monitoring centre calls you, can send a guard |
| Works if the internet drops | Wi-Fi alerts stop until it is back | Usually yes, via a cellular link |
| Best for | Renters, budget setups, people often home | Owners who travel, rural homes, insurer requirements |
As a rule of thumb, renters, people who are home a lot and anyone on a tight budget lean DIY; owners who travel, rural properties and homes where an insurer requires monitoring lean professional. Neither is automatically “more secure” — a well-planned DIY kit beats a monitored alarm that only covers the front door.
How does layered home security work?
Good security works in layers, each buying time and cutting false alarms. Picture three rings around the house, each doing a different job.
- Perimeter: outdoor cameras and sensor lights deter people and record what happens outside. Our outdoor security camera guide covers placement and weatherproofing.
- Entry points: door and window sensors catch a break-in at the moment it happens, before anyone is inside. A smart lock and a video doorbell belong on this ring too.
- Interior: a motion sensor or indoor camera confirms that an alert is real, which matters most when you are deciding whether to call the police.
The point of layering is confirmation: a door sensor tells you something opened, and a camera tells you whether it was a burglar or a teenager home early. That combination is what stops you calling 111 over the cat.
What is inside a DIY home security kit?
A DIY setup is a small hub plus battery-powered sensors and Wi-Fi cameras, all run from one app. TP-Link’s Tapo range is the easiest to build on locally and is widely stocked: in September 2026 the H100 hub sold for about $36-$39, T110 door and window sensors for about $26 and T100 motion sensors for about $30 at PB Tech and Noel Leeming. Aqara, Eufy and Arlo are common alternatives.
Door and window sensors
Contact sensors are the backbone of any alarm. A magnet sits on the moving door or window and the sensor on the frame; opening it breaks the connection and triggers an alert. Fit them to every entry door — including ranch sliders and the internal garage door — and to ground-floor windows that open. They are the cheapest part of a kit and the part that actually detects a break-in.
Motion sensors and pets
Motion sensors cover a hallway or lounge, but cats and dogs set most of them off. If pets roam inside while you are out, lean on contact sensors and cameras instead, or choose sensors specifically rated as pet-immune. There is no point paying guard callout fees because the cat walked past the hall sensor at 2am.
Cameras and doorbells
Cameras record evidence and deter casual thieves. For indoor use, a Tapo C110 was about $46 at Noel Leeming in September 2026; outdoor models such as the Tapo C310 (about $67-$69) need a power point nearby. Battery video doorbells from Ring start under $100. Compare brands in our home security camera guide, or read our Tapo camera review if you want cameras and sensors in one app.
How much does a DIY home security kit cost?
A starter kit for a typical three-bedroom house lands around $350 at September 2026 low prices, with no monthly fee. The itemised example below covers two entry doors, two ground-floor windows, an internal garage door, one outdoor camera and a video doorbell.
| Item | Qty | Price (Sep 2026) |
|---|---|---|
| Tapo H100 hub with chime | 1 | $39 |
| Tapo T110 door/window sensor | 5 | $130 |
| Tapo T100 motion sensor (hallway) | 1 | $30 |
| Tapo C310 outdoor camera | 1 | $69 |
| Ring battery video doorbell | 1 | $78 |
| Approximate total | ~$346 |
Scaling up or down is simple: each extra door or window is about $26 and each additional camera $46-$69. The only recurring cost with this approach is optional cloud video — cameras with a microSD card slot record locally and avoid a subscription entirely. If you would rather a company watched the system for you, the monitored route below swaps that low upfront cost for a monthly fee.
How does a professionally monitored alarm work?
A monitored alarm has a control panel, motion detectors, a siren and a communicator that reports to a 24/7 monitoring centre. When it triggers, the centre calls you or your nominated contacts and, depending on the plan, sends a security guard to the property. It is the closest thing to having someone always on watch, which is why some insurers ask for it.
What does a monitored alarm cost in NZ?
Monitoring itself typically runs around $25-$50 a month in September 2026, on top of a compatible alarm. AlertMe, for example, charges about $35 a month with a 4G cellular module installed from $175; other providers advertise no-contract plans from around $20. The table shows the usual line items.
| Item | Typical cost (September 2026) |
|---|---|
| Monitoring plan | About $25-$50 a month |
| Cellular communicator for an existing alarm | From $175 installed (AlertMe) |
| Guard callouts | Charged per callout on many plans, including false alarms |
| New installed alarm system | Quoted per home |
Read the contract before signing. Some plans lock you into multi-year terms, and callout fees for false alarms add up fast with pets or forgetful teenagers. Ask whether monitoring is month-to-month, what a guard callout costs, and whether the hardware is yours to keep if you leave.
Copper phone lines and older alarms
Many older alarms report to the monitoring centre over a copper phone line, and that link is disappearing. As Chorus withdraws copper in streets where fibre is available, those alarms need a cellular or internet communicator to keep working. Chorus gives at least six months’ notice, but if you have already moved to fibre or wireless broadband, check now what your alarm uses — see Chorus’s guidance on moving alarms off copper.
What smart alarm options are sold in New Zealand?
You do not need a big overseas brand to get proper alarm behaviour. Four routes are realistic here:
- Hub-and-sensor kits: Tapo’s hub pairs with its door, window and motion sensors and its cameras in one app, and it is stocked almost everywhere.
- Camera-led systems: Eufy, Arlo, Blink and Tapo cameras send motion alerts and many can sound an alarm from the camera itself. Strong at the perimeter, weaker at catching a door being opened.
- Home Assistant: a local hub such as Home Assistant Green running Zigbee or Thread sensors from brands like Aqara, with an alarm panel inside the app. The most flexible option if you like tinkering.
- Installed alarms: a panel, detectors and siren fitted by an alarm company, usually paired with monitoring.
Whichever you pick, confirm the sensors are sold for the New Zealand market, that the app can arm and disarm on a schedule or by location, and whether recordings need a subscription.
Lifestyle blocks and rural properties
Sheds, gates and driveways often sit beyond Wi-Fi range. Options include solar-powered security cameras, cameras with a built-in 4G SIM, or a point-to-point outdoor Wi-Fi link to carry your home network across the yard. A monitored alarm with a cellular communicator also suits rural homes where broadband is less reliable.
Security camera or alarm: which should you buy first?
Buy the sensors first. An alarm detects entry and makes noise the instant a door opens; a camera only helps once someone looks at the footage. For most homes the best first step is contact sensors on the entry doors plus one camera covering the front, then build outward. If you already own cameras, adding door sensors is the cheapest way to gain real alarm behaviour.
Can you buy Ring Alarm in New Zealand?
Not yet. Ring sells video doorbells and cameras here, but its alarm range is not currently available in Australia or New Zealand. Ring signalled at CES 2026 that it plans to bring its sensors to the region, but nothing has shipped as of late 2026. Kits imported through overseas marketplaces are built for other markets’ radio frequencies and power supplies, so they may not work reliably or meet local radio rules. Stick to locally sold systems, or build your own around a hub — an approach that falls under home automation more broadly and is covered in our home automation explainer.
How to make self-monitored security actually work
Self-monitoring only pays off if the alerts reach someone who will act on them. A few habits make the difference:
- Share alerts with a second person, so one missed notification does not mean a missed break-in.
- Arm and disarm automatically when the last phone leaves and the first one returns.
- Test every sensor monthly and replace batteries the moment the app warns you.
- Keep notifications for the things that matter; if everything pings, you will start ignoring all of it.
- Remember that Wi-Fi alerts stop when the power or internet drops — but a camera with a microSD card keeps recording through an internet outage as long as it has power.
Cameras, privacy and your neighbours
The Privacy Act usually does not apply to cameras an individual runs at home, unless the filming is highly offensive — pointing a lens into a neighbour’s bathroom, say. Even so, the Office of the Privacy Commissioner sets clear expectations, summed up in its own words as “don’t be creepy”: talk to your neighbours first, do not point cameras at their doors, windows or yard, put up a sign, do not keep footage longer than you need and do not post it online. The full guidance is on the Privacy Commissioner’s CCTV at home page.
Renters need the landlord’s written consent before screwing a doorbell or camera to the house. Tenancy Services says landlords cannot unreasonably decline minor changes, though they can set reasonable conditions, and you must return the property to its original state when you leave. Stick-on sensors and plug-in cameras sidestep the issue entirely.
Will the alarm still work in a power cut or internet outage?
It depends on the type. A DIY Wi-Fi kit keeps its siren and local sensors running on the hub’s battery, but the phone alerts stop the moment your broadband or power drops, because the notification travels over the internet. A camera with a microSD card keeps recording locally through an outage as long as it has power, which is why local recording is worth having. A monitored alarm with a cellular communicator is the most resilient: it reports over the mobile network and runs on the panel’s backup battery, so it can still reach the monitoring centre when the fibre is down. If reliable coverage during outages matters to you — a common concern on rural or storm-prone properties — that resilience is the strongest argument for professional monitoring over a pure Wi-Fi setup.
Does a security system lower your home insurance?
Sometimes, but do not assume it. A monitored alarm can earn a small premium discount or be a condition of cover on some higher-value homes, while a self-monitored DIY kit rarely changes anything on its own. The bigger practical benefit is that recorded footage and a documented alarm response help a claim after a break-in. Ask your insurer directly what, if anything, they recognise before you buy monitoring purely to save on premiums — the monthly fee usually outweighs any discount.
Common mistakes to avoid
- Buying cameras and never sensors, so nothing detects a break-in until you happen to watch the footage.
- Leaving the internal garage door and ranch sliders off the sensor list.
- Using ordinary motion sensors with pets home alone.
- Signing a long monitoring contract without checking guard callout fees.
- Mounting outdoor cameras where Wi-Fi is weak; test the signal with a phone at the spot first.
For most New Zealand homes, a self-monitored kit — door sensors, one outdoor camera and a doorbell, around $350 — is the best value, provided someone will respond to the alerts. Choose professional monitoring if you travel often, live rurally, or your insurer requires it, and cover every entry door before adding more cameras.
Disclaimer: Prices, plans and product availability change often; everything here was checked in September 2026. Nicegear is independent, sells nothing and has no paid placements. This is general information, not security or legal advice.
Sources
- CCTV at home — Office of the Privacy Commissioner
- Fibre broadband and alarms — Chorus
- Consumer protections for copper withdrawal — Commerce Commission
- Home security system availability — Ring (Australia)
- Home alarm monitoring pricing — AlertMe
- Tenants making changes to the property — Tenancy Services
- Tapo hub and sensor pricing — PB Tech
- Home security system providers and monitoring costs — MoneyHub NZ
Frequently asked questions (FAQ)
How much does a monitored alarm cost in NZ?
Monitoring typically costs around $25-$50 a month in September 2026, on top of installing a compatible alarm; AlertMe, for example, is about $35 a month with a cellular module from $175 installed. Many plans also charge for guard callouts, including false alarms, so check the callout fee before signing.
Is DIY home security worth it in NZ?
For most homes, yes. A self-monitored kit with door sensors, one camera and a doorbell costs about $350 with no monthly fee, as long as someone is willing to respond to the alerts. Renters and people who are often home get the best value from it.
Can I buy Ring Alarm in NZ?
Not officially. Ring’s own Australian site says its alarm range is not currently available in Australia or New Zealand, although Ring doorbells and cameras are sold here. Ring has indicated it plans to expand its sensors into the region, but nothing has shipped yet.
Do door and window sensors work with pets?
Yes. Contact sensors only trigger when a door or window actually opens, so pets do not set them off, unlike most indoor motion sensors. With pets home alone, rely on contact sensors and cameras rather than ordinary motion detectors.
Are home security cameras legal in NZ?
Yes, but aim them at your own property. The Privacy Commissioner advises talking to neighbours first, avoiding their windows and yards, putting up a sign, not keeping footage longer than needed and not sharing it online. Renters also need the landlord’s written consent to fix a camera to the house.