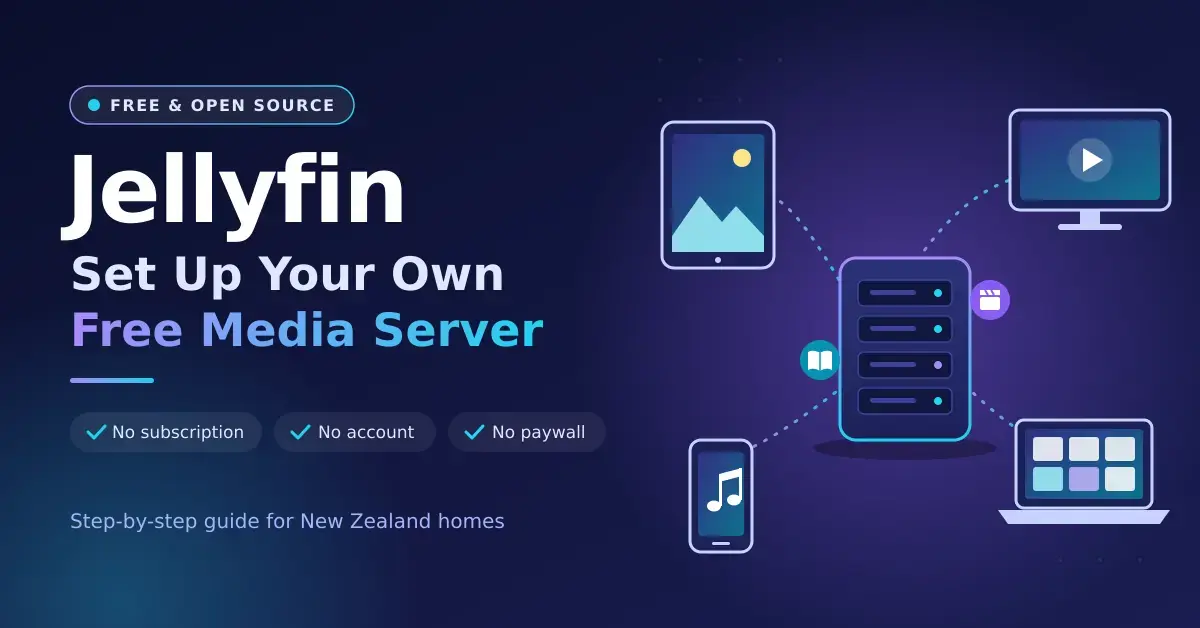
Jellyfin is a free, open-source media server that catalogues your films, TV shows, music, books and photos and streams them to TVs, phones, tablets and browsers — with no subscription, no company account and nothing locked behind a paywall. You install the Jellyfin server on a PC, NAS or mini PC, point it at your media folders, then add the free apps to your devices. The current stable release is Jellyfin 12.1, a bug-fix update to the major 12.0 release that arrived in September 2026.
This guide walks through the hardware, the setup, the apps, Freeview and remote access for New Zealand homes. If you are still deciding between the two big names, our Jellyfin vs Plex comparison covers that choice in detail, and the home server guide explains where Jellyfin fits alongside other self-hosted apps you might run on the same box.
Key points
- Jellyfin is completely free, including hardware transcoding, offline downloads, live TV, recording and remote streaming — all of which need a paid pass on Plex.
- Jellyfin 12.1 (15 September 2026) is the current stable release, a bug-fix update to the major 12.0 release. You must be on 10.10.7 or a 10.11 release, and take a full backup, before upgrading.
- Jellyfin’s hardware guide suggests 8 GB of RAM, a 100 GB SSD and an Intel N100 or newer for transcoding, and calls the Raspberry Pi too slow.
- Most homes rarely need transcoding: the official apps for Android TV, LG, Samsung, Roku and Kodi play most files by direct play.
- There is no built-in relay for remote viewing — use Tailscale or an HTTPS reverse proxy, and never expose port 8096 over plain HTTP.
Quick facts
| Developer | The Jellyfin project (community, volunteer-run) |
|---|---|
| Official download | jellyfin.org/downloads |
| Licence | Free and open source (GPL) |
| Price | Free — no paid tier |
| Operating systems | Windows, macOS, Linux, Docker, and NAS (Synology, QNAP, TrueNAS, Unraid) |
| Current version | 12.1 (September 2026) |
| Client apps | Android TV, Fire TV, LG webOS, Samsung Tizen, Roku, Xbox, Kodi, Android, iOS, desktop and web |
What is Jellyfin, and what changed in 12.0 and 12.1?
Jellyfin is a self-hosted media server: software you run on your own computer that organises your media and streams it to your devices. It belongs to a category of software known as the media center application, and it began in 2018 as a community fork of Emby after Emby moved to a closed-source model. Jellyfin is released under the GPL, run by volunteers and funded by donations, so there is no premium tier and nothing that phones home to a company.
Is Jellyfin really free?
Yes — completely. Every feature is included at no cost, including hardware transcoding, offline downloads on mobile, live TV, recording to disk and remote streaming. Those are exactly the features that sit behind a paid pass on Plex. Your only real costs with Jellyfin are the hardware it runs on and the electricity to keep that hardware on.
What changed in the 12.x releases?
Jellyfin 12.0 deliberately skipped the number 11: the project decided the old 10.11 line was really a major release because it rewrote the library database, so it dropped the leading “10”. You can read the full details in the official Jellyfin 12.0 release notes. The headline changes are:
- Alternate versions for episodes — for example a 4K and a 1080p copy of the same episode, each with its own resume point.
- Proper book and comic support, with metadata read from ComicInfo and OPF files and a redesigned reader.
- The Modern layout as the default on desktop and mobile, plus a shared theme system and faster playlists and collections.
- A newer engine: the server now targets .NET 10 and uses FFmpeg 8.1.
Jellyfin 12.1 followed a week later, on 15 September 2026. It is a point release rather than another big migration — roughly 47 server fixes covering faster database queries, batched item deletion, Live TV and metadata handling, and general upgrade safety. If you are installing fresh today, you will land on 12.1.
How do I upgrade safely to 12.x?
Before you upgrade, get onto a supported starting point and take a backup. You must already be running 10.10.7 or any 10.11 release before jumping to 12.x; older installs need to reach 10.10.7 first. Then back up your configuration and database, because 12.x changes the database in a way you cannot roll back from without a full restore. Check that no two usernames differ only by upper- and lower-case, since usernames are now case-insensitive and a clash will stop the migration, and remove third-party plugins until they have been rebuilt for 12.x. The legacy /emby and /mediabrowser API routes are gone, so a handful of very old third-party apps may stop connecting.
Jellyfin server hardware: what you actually need
Jellyfin’s own hardware guide recommends at least 8 GB of RAM and a 100 GB SSD for the operating system, Jellyfin’s files and the transcoding cache, with your media kept on separate drives. For converting video on the fly it lists Intel graphics from the Core i5-11400, Pentium Gold G7400 or Intel N100 onwards, Apple M-series chips, and Intel Arc or NVIDIA GTX 16 / RTX 20-series and newer graphics cards. It explicitly does not recommend AMD integrated graphics, and it dropped Intel’s 7th- to 10th-generation chips from the list because Intel has deprecated the media toolkit those chips relied on.
Direct play vs hardware transcoding
Direct play is the key idea that decides how much hardware you need. Direct play means the app plays the original file untouched, which costs the server almost nothing — a Raspberry Pi could serve it. Transcoding is the expensive part: it kicks in when a device cannot handle the file’s format, when the connection is too slow for the original bitrate, or when image-based subtitles have to be burned into the picture. With Intel Quick Sync, NVIDIA NVENC or Apple VideoToolbox, Jellyfin does that conversion on the graphics chip rather than the main processor, which is why the recommended hardware is defined by its GPU. Jellyfin’s hardware acceleration documentation covers how to enable it and which codecs each chip supports.
Because most TVs and streaming boxes play common files directly, the number of people watching at once matters far less than the number who need a converted stream at once. A household where everyone watches on TV apps may never transcode; a household streaming 4K to phones and to relatives across town will. Size the hardware for the worst realistic case — how many simultaneous transcodes of your heaviest format you expect — not for the total number of viewers.
Which hardware suits a Jellyfin server?
The table below compares the common options for a New Zealand home, with indicative September 2026 prices in NZ$ including GST.
| Hardware | Transcoding | Notes |
|---|---|---|
| Intel N100 or N150 mini PC | Good (Intel Quick Sync) | Roughly NZ$750–$900; frugal, quiet, popular starting point |
| Intel Core 11th gen or newer | Very good | Ideal if you already own a suitable PC |
| Intel Arc graphics card | Excellent | Strong AV1 and HEVC encoding for heavy 4K use |
| Synology DS225+ / DS425+ (Intel Celeron J4125) | Works, older generation | Handy if the NAS is already running |
| AMD-based NAS such as the DS925+ (Ryzen V1500B) | None in hardware | Direct play, or slow CPU transcoding only |
| Raspberry Pi | Not recommended | Jellyfin calls SBCs too slow for a good experience |
Avoid H.264 10-bit files. Jellyfin’s documentation notes that no mainstream Intel, NVIDIA or AMD graphics chip can hardware-decode H.264 10-bit video, so those files fall back to slow CPU decoding. If you rip or convert your own media, use HEVC (H.265) 10-bit instead, which every recent chip on the recommended list can accelerate.
How to set up Jellyfin: step by step
- Pick the machine. A mini PC, a NAS with an Intel CPU, a Windows or Mac computer that stays on, or a container on Proxmox VE.
- Install the server. Use the Windows or macOS installer, the official Linux repository, or the official Docker image, which bundles jellyfin-ffmpeg. The docs warn that FFmpeg builds from elsewhere give only partial hardware acceleration.
- Name your folders the way Jellyfin expects. For films: a Movies folder, then a “Film Title (2024)” folder, then the film file. For TV: a Shows folder, then “Show Name”, then “Season 01”, with files named like “Show Name S01E01”.
- Run the setup wizard in a browser at your server’s address on port 8096. Create an admin account, add your libraries, and set the metadata country to New Zealand so ratings and release dates match.
- Turn on hardware acceleration under Dashboard → Playback → Transcoding. Choose Intel Quick Sync or VA-API, NVIDIA NVENC or Apple VideoToolbox, tick the codecs your chip supports, and enable tone mapping for HDR. In Docker or an LXC container, pass through the graphics device first.
- Add family members as separate users, with parental rating limits on the children’s accounts.
- Install the apps on your TVs, phones and tablets, and sign in.
Running Jellyfin on a NAS
A NAS is a natural home for Jellyfin because it is already on 24/7 and already holds the files. On Synology, install it through Container Manager using the official Docker image, and map the Intel graphics device on models such as the DS225+ so hardware transcoding works. QNAP’s Container Station, TrueNAS apps and Unraid’s community apps offer similar routes. If your NAS has a weak or AMD processor — the DS925+, for example, uses an AMD Ryzen chip with no video engine — keep the media on the NAS and run Jellyfin on a small Intel mini PC that reads the files over the network. Our NAS storage guide covers choosing and setting up the NAS itself.
Jellyfin apps for every screen
Jellyfin’s official client apps cover almost every device sold in New Zealand, and most of them play common files by direct play.
| Device | App | Notes |
|---|---|---|
| Android TV, Google TV, Fire TV | Jellyfin for Android TV | Official; plays most formats directly |
| LG TVs | Jellyfin for webOS | Official |
| Samsung TVs | Jellyfin for Tizen | Official |
| Roku | Jellyfin for Roku | Official; ignore any prompt about a cable subscription |
| Xbox | Jellyfin for Xbox | Official |
| Kodi | JellyCon | Official add-on |
| Android & iPhone/iPad | Jellyfin for Android, Jellyfin for iOS | Official |
| Windows, Mac, Linux | Jellyfin Media Player or any web browser | Official |
On Apple TV, the Jellyfin project’s Swiftfin app and the paid Infuse player both connect to Jellyfin; our Apple TV guide covers the box itself. For awkward files on a laptop, VLC media player remains the most forgiving player around.
Watching Freeview through Jellyfin in NZ
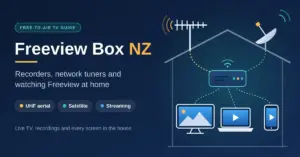
Jellyfin can act as a whole-house live TV and recorder for Freeview, and the recording is free (Plex keeps its DVR behind Plex Pass). Jellyfin’s Live TV feature works with network tuners such as SiliconDust’s HDHomeRun and with M3U playlists. In New Zealand, Freeview broadcasts over UHF aerials using DVB-T and by satellite using DVB-S, so a DVB-T network tuner connected to your aerial can feed Freeview channels into Jellyfin for every screen in the house. The catch is the electronic programme guide: guide data usually needs an XMLTV source, and getting it mapped correctly takes some tinkering. If you only want live channels on a single TV, a dedicated Freeview box or the Freeview app is far simpler.
Accessing Jellyfin away from home safely
Unlike Plex, Jellyfin has no relay service, so reaching it from outside the house is up to you — and how you do it matters for security. The easiest safe option is Tailscale: install it on the server and on your phone or laptop, and Jellyfin behaves as if you were at home, even on Starlink or other connections behind carrier-grade NAT. To share with relatives who will not install a VPN, put Jellyfin behind a reverse proxy with a valid HTTPS certificate and a domain name, and keep the server updated. Never expose port 8096 over plain HTTP to the internet.
Upload speed is the real limit on remote viewing. A 1080p stream set to 8 Mbps uses 8 Mbps of your upload, so a fibre plan with 100 Mbps upstream can comfortably feed several remote viewers at once, while slower connections do better with a lower quality cap. Check what you actually have with our NZ speed test before you promise the whole family a 4K stream.
Common Jellyfin mistakes to avoid
- Messy folder or file names, which lead to wrong posters, merged shows and missing episodes. Match Jellyfin’s naming pattern before the first scan.
- Using a random FFmpeg build instead of the bundled jellyfin-ffmpeg, which leaves you with only partial hardware acceleration.
- Exposing port 8096 over plain HTTP to the internet instead of using a VPN or an HTTPS reverse proxy.
- Upgrading to 12.x without a backup, or with third-party plugins and clashing usernames still in place.
- Buying AMD-based hardware for transcoding. Jellyfin recommends Intel, Apple or NVIDIA; an AMD iGPU has no supported video engine here.
- Sizing the server for total viewers rather than simultaneous transcodes, which either wastes money or causes buffering. Lean on direct play wherever you can.
Who Jellyfin suits
Jellyfin fits New Zealand households that own their media — ripped discs, home videos, music and downloads they are entitled to keep — and want to stream it without a subscription or a company account. It suits people who are comfortable running one always-on computer, or who already have a NAS or mini PC. For a first build, an Intel N100 or N150 mini PC, or an Intel-based NAS you already own, covers most homes. Rely on direct play for TVs, keep transcoding for phones and remote viewers, use Tailscale for access away from home, and take a backup before every major upgrade. If your library lives mainly in paid streaming apps, a media server adds little; Jellyfin earns its place when you have your own files to organise.
Software versions, app availability and hardware prices change. Details were checked in September 2026 and prices are in NZ$ including GST. Nicegear is independent and has no paid placements.
Sources
Frequently Asked Questions (FAQ)
Is Jellyfin really free?
Yes. Jellyfin is open-source software with no paid tier, so hardware transcoding, offline downloads, live TV, recording and remote streaming all cost nothing. Your only costs are the hardware it runs on and the power to keep it on.
What is the latest version of Jellyfin?
Jellyfin 12.1, released on 15 September 2026, is the current stable release. It is a bug-fix update to the major 12.0 release from 7 September 2026. You must be on 10.10.7 or a 10.11 release before upgrading, and you should take a full backup first.
What hardware do I need to run a Jellyfin server?
Jellyfin recommends at least 8 GB of RAM and a 100 GB SSD, plus an Intel N100 or newer, an 11th-gen Intel Core chip, an Apple M-series Mac, or a recent NVIDIA or Intel Arc graphics card for transcoding. A Raspberry Pi is too slow for a good experience.
Can Jellyfin run on a Synology NAS?
Yes. Install it with Container Manager using the official Docker image. Intel-based models such as the DS225+ and DS425+ can use hardware transcoding, while AMD-based models such as the DS925+ have no video engine and rely on direct play or slow CPU transcoding.
How do I access Jellyfin away from home?
The simplest safe method is Tailscale, a private network that works even behind carrier-grade NAT. Otherwise use a reverse proxy with a valid HTTPS certificate, and never expose port 8096 without encryption.