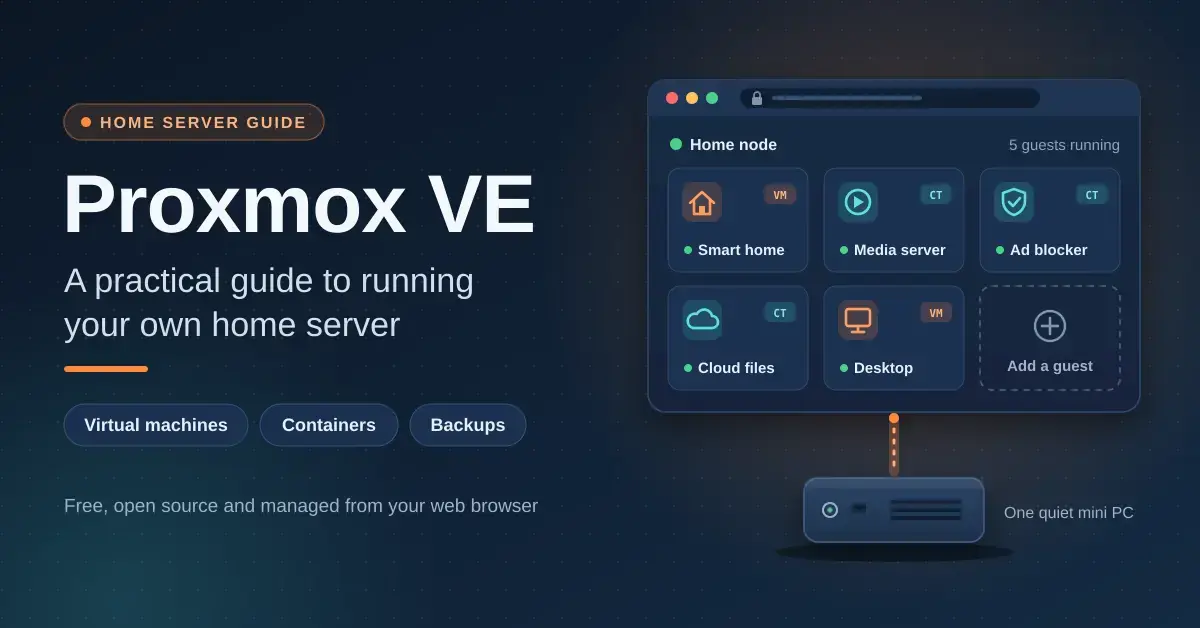
Proxmox Virtual Environment (Proxmox VE) is a free, open-source platform that turns a single computer into a host for virtual machines and lightweight Linux containers, all managed from an ordinary web browser. For a home server it is the most flexible base you can start from: Home Assistant, Jellyfin, Pi-hole, Nextcloud and even a Windows desktop can share one quiet mini PC, each walled off from the others so a problem in one does not take down the rest.
This guide is written for people who have outgrown a Raspberry Pi or a single-purpose box and want one machine to do several jobs at once. It covers what Proxmox VE actually is, the hardware you need, how to install it, the difference between virtual machines and containers, how backups work, and the habits that keep a New Zealand home server cheap and reliable. If you are still choosing hardware, start with our home server guide, then come back here to plan and install Proxmox.
Key points
- Proxmox VE is free with every feature included. Subscriptions, from €120 per CPU socket a year, buy the tested enterprise update repository and support, not extra features.
- Proxmox VE 9.2 runs on Debian 13. Version 8 stopped receiving security updates on 31 August 2026, so upgrade any older install.
- Use LXC containers for light Linux services and full VMs for Home Assistant OS, Windows or anything that needs its own kernel.
- Plan RAM before you buy: 2 GB for Proxmox itself, about 1 GB per TB of ZFS storage, plus whatever your guests need.
- The community helper scripts save hours, but they run as root on your host — read them before you paste them, and back up first.
What is Proxmox VE?
Proxmox VE is a Debian-based operating system from Proxmox Server Solutions GmbH in Vienna, released under the open-source AGPLv3 licence. You install it directly onto a computer as its main operating system, and it then hosts everything else. Under the hood it combines KVM and QEMU for full virtual machines, LXC for containers, ZFS and Ceph for storage, built-in backups and clustering, and a web interface on port 8006 that manages all of it without a single command line if you prefer. For a neutral technical overview, see Proxmox Virtual Environment on Wikipedia.
The current release, Proxmox VE 9.2, arrived on 21 May 2026. It is built on Debian 13.5 with the Linux 7.0 kernel, QEMU 11.0, LXC 7.0 and ZFS 2.4, and it added a dynamic load balancer for clusters. That feature matters little at home, but it shows how actively the platform is developed — the full detail sits in the Proxmox VE 9.2 release announcement on the Proxmox forum. If you are still on version 8, note that it reached the end of its security-update life on 31 August 2026, so upgrading is now a security matter rather than a nice-to-have.
Quick facts
| Developer | Proxmox Server Solutions GmbH (Vienna, Austria) |
|---|---|
| Official download | proxmox.com/en/downloads (installer ISO, about 1.5 GB) |
| Current version | Proxmox VE 9.2 (released 21 May 2026) |
| Base & kernel | Debian 13.5, Linux 7.0 kernel, QEMU 11.0, LXC 7.0, ZFS 2.4 |
| Licence | Free and open source (AGPLv3); optional paid subscription |
| Runs on | Installs bare-metal on 64-bit Intel or AMD (x86-64) hardware |
| Managed via | Web browser on port 8006 (no command line required) |
Is Proxmox VE really free?
Yes — every feature of Proxmox VE works without paying a cent, because it is genuinely open-source software, not a trial. A paid subscription does not unlock extra features; it buys access to the tested “enterprise” update repository and to technical support from Proxmox. Plans run from €120 per CPU socket a year (Community) up to €1,100 (Premium), as set out on the Proxmox VE subscription pricing page. For a home lab you can safely skip the subscription and use the free “no-subscription” repository instead, which gets the same updates a little less conservatively. The only visible sign of running unsubscribed is a harmless pop-up at login.
VMs vs LXC containers in Proxmox
The single most useful thing to understand in Proxmox is the difference between a virtual machine and a container, because it decides how much memory and disk each service costs you. A virtual machine (VM) pretends to be a whole separate computer with its own kernel; a Linux container (LXC) shares the host’s kernel and only carries the application on top, so it is far lighter.
| Feature | KVM virtual machine | LXC container |
|---|---|---|
| Kernel | Its own, fully isolated | Shares the Proxmox host kernel |
| Overhead | Higher: RAM is reserved per VM | Very low: uses only what the apps need |
| Runs | Any OS, including Windows and Home Assistant OS | Linux only |
| Isolation | Strong | Good, but weaker than a VM |
| Best for | Home Assistant OS, Windows, Docker hosts, firewalls | Pi-hole, Jellyfin, Nextcloud, small web apps |
A simple rule works for most people: if it is a Linux service with an install guide — such as the self-hosted business apps many offices run — try an unprivileged LXC container first. If it is a whole operating system, needs its own kernel modules, or you want the strongest possible separation, use a VM. You can always change your mind later; nothing about the choice is permanent.
Proxmox VE hardware requirements
Proxmox’s official requirements are modest: a 64-bit Intel or AMD processor with hardware virtualisation (Intel VT-x or AMD-V) enabled, and 2 GB of RAM for Proxmox itself plus whatever your guests use. If you use ZFS or Ceph storage, Proxmox suggests roughly 1 GB of extra RAM per terabyte of pool. Passing a whole device such as a graphics card through to a VM (PCIe passthrough) additionally needs VT-d or AMD-Vi. Fast SSDs make the biggest difference to how responsive everything feels. The full list is on the Proxmox VE system requirements page.
For a home server in New Zealand, three kinds of hardware work well:
- Intel N150 mini PCs (roughly NZ$750–$900 in September 2026): quiet, frugal and fine for a handful of containers plus one or two light VMs, but usually capped at 16 GB of RAM.
- Ryzen or Core i5 mini PCs (roughly NZ$1,040–$1,600): most take 32 GB of RAM or more, enough for a Windows VM alongside everything else.
- Ex-lease business desktops: more drive bays and upgrade room and often the cheapest way to get lots of RAM, at the cost of higher idle power draw.
Size the RAM before you buy, not after. Add up what each service needs, add 2 GB for Proxmox, add about 1 GB per terabyte if you plan to use ZFS, and leave 20–30% headroom on top. If the total lands above 16 GB, that already rules out the N100 and N150 mini PCs, so step up to a Ryzen or Core i5 box.
Choose SSDs with decent endurance
ZFS writes considerably more data than a plain ext4 install, so the drive that holds your VMs matters. For that drive, avoid the very cheapest QLC SSDs, check the endurance (TBW) rating before buying, and ideally run a mirrored pair so a single worn-out drive does not take the whole host down. Bulk media and backups can live on cheaper storage or a separate NAS.
How to install Proxmox VE, step by step
Installing Proxmox is a 20-minute job. The outline below assumes a fresh machine you are happy to wipe.
- Enable virtualisation in the computer’s UEFI/BIOS settings — Intel VT-x or AMD-V, plus VT-d or AMD-Vi if you plan any passthrough.
- Download the Proxmox VE 9.2 ISO from proxmox.com and write it to a USB stick with a tool such as balenaEtcher or Rufus.
- Boot the installer and choose the disk layout. ext4 with LVM-thin suits a single SSD; ZFS RAID1 (a mirror) suits two matching SSDs and protects against one failing.
- Set location details — choose New Zealand, the Pacific/Auckland time zone and your keyboard layout.
- Set the root password, an admin email address and a fixed IP address, with your router as the gateway, so the server keeps the same address for good.
- Reboot and log in from another computer at https://your-server-ip:8006, using the root account you just created.
- Switch update repositories. Without a subscription, open Updates > Repositories, disable the enterprise repositories, add the no-subscription one, then run the updates.
The “no valid subscription” pop-up you see at login is normal and harmless for home use — it is not an error, just Proxmox reminding you there is no support contract on the machine.
Are Proxmox helper scripts worth using?
Yes, with care. The Proxmox VE Helper-Scripts project, now hosted at community-scripts.org, offers one-line commands that build a ready-to-use LXC container or VM for hundreds of apps, from Home Assistant to Jellyfin, in a minute or two. It was started by a developer known as tteck and has been maintained by a team of community volunteers since his death, and the current scripts support Proxmox VE 8.4 through 9.2.
They save real time, and the maintainers publish a security policy, but there is a genuine trade-off: every script runs as root on your host and pulls code from the internet. Read what a script does before you paste it, take a backup first, and for anything critical — your firewall, your password manager, your reverse proxy — consider using the project’s own official install method instead, so you understand exactly what is on the box.
Backups: Proxmox Backup Server and doing it properly
Proxmox has scheduled backups built in from day one. You can back up every VM and container nightly to a local disk or a NAS share over NFS or SMB, with retention rules such as “keep seven daily and four weekly copies”. That alone already beats most home setups, which have no backups at all.
Proxmox Backup Server (PBS) goes further and is worth setting up once your server holds anything you care about. Version 4.2, released on 29 April 2026, stores backups incrementally with deduplication and client-side encryption, so nightly backups of large VMs take a fraction of the time after the first full run, and it can now push copies to S3-compatible object storage as an official feature — the details are in the Proxmox Backup Server 4.2 release notes. Run PBS on separate hardware, such as an old PC with a big drive, so a dead host cannot take the backups with it, and keep at least one off-site copy of anything you truly cannot replace. Our NAS storage guide covers a sensible on-site backup target.
Proxmox VE vs ESXi and other hypervisors
After Broadcom bought VMware it ended the free ESXi hypervisor in 2024, then brought a free edition back with ESXi 8.0 Update 3e in April 2025. Broadcom’s own notes spell out the limits: no vCenter, no vMotion or HA, no backup APIs for third-party tools, a maximum of two physical CPUs and 8 vCPUs per VM, and no official support — see the Broadcom knowledge-base article on ESXi 8.0 Update 3e. That makes the free ESXi useful mainly for learning VMware itself.
| Feature | Proxmox VE | VMware ESXi (free edition) | Unraid |
|---|---|---|---|
| Cost | Free, optional subscription | Free, Broadcom account needed | US$49–$249 (one-off tiers) |
| Containers | LXC built in | None | Docker built in |
| Backups | Built in, plus Proxmox Backup Server | No backup API for third-party tools | Plugins |
| Storage | ZFS, LVM, Ceph | VMFS | Parity array, ZFS |
| Best for | Mixed VMs and containers | Learning VMware for work | Media servers with mismatched drives |
For a home server, Proxmox is the clear pick unless you specifically need hands-on VMware skills for your job. Unraid is worth a look if your main goal is a media server built from an odd mix of drive sizes, but it is not free.
Running Proxmox as a home server in NZ
A Proxmox host on an N150 mini PC typically idles somewhere around 6–12 W, which works out at roughly NZ$20–$40 a year at 35c/kWh — less than a single old incandescent bulb left on. A few New Zealand-specific habits keep it that cheap and reliable:
- Put it on a small UPS and install Network UPS Tools so the host shuts down cleanly during the power cuts that come with rural lines and storms.
- Never expose port 8006 to the internet. Run Tailscale in a container for remote access; it works even on Starlink and other connections behind carrier-grade NAT, where port forwarding simply is not possible. Our VPN explainer covers the basics of why.
- Keep bulk data on a NAS and mount it into your containers, so the Proxmox host itself stays small, quick to back up and easy to rebuild.
Popular first projects are a Home Assistant OS VM (or a dedicated Home Assistant Green if you prefer an appliance; the officially supported VM route is documented in Home Assistant’s alternative installation methods), Jellyfin in a container with the Intel graphics passed through for hardware transcoding (see Jellyfin vs Plex if you are undecided), and a Linux desktop VM such as Linux Mint for safe experiments.
Common Proxmox mistakes to avoid
- Handing guests every last gigabyte of RAM. ZFS and the host need memory too; overcommitting leads to guests being killed when the machine runs out.
- Leaving the enterprise repository enabled without a subscription, which makes every update check throw errors until you switch to the no-subscription repository.
- Skipping the upgrade checklist. Before a major upgrade, read the official guide and run its checker script (pve8to9 for the version 8-to-9 jump) to catch problems first.
- Never testing a restore. A backup you have never restored is a hope, not a backup — restore one to a spare VM ID occasionally to prove it works.
- Exposing the web interface to the internet. Use a VPN or Tailscale, never a port-forward, to reach it from outside the house.
Is Proxmox VE worth it for a home server?
For anyone who wants one machine to run more than a single service, Proxmox VE is the best free base available in 2026. Start with an N150 mini PC and 16 GB of RAM, or a Ryzen or Core i5 box with 32 GB if you want a Windows VM in the mix. Use containers for Linux services and VMs for Home Assistant OS and Windows, and set up scheduled backups to a second machine before you migrate anything important. Do those three things and you have a home server that is quiet, cheap to run and genuinely resilient.
Software versions, subscription prices and hardware prices change over time. Details were checked in September 2026; hardware prices are in NZ$ incl. GST and power-draw figures are estimates that vary with the exact hardware. Nicegear is independent and carries no paid placements.
Sources
- Proxmox VE system requirements – Proxmox
- Proxmox VE subscription pricing – Proxmox
- Proxmox Virtual Environment 9.2 available – Proxmox forum
- Proxmox Backup Server 4.2 released – Proxmox
- Proxmox VE release and end-of-life dates – endoflife.date
- Proxmox VE Helper-Scripts – community-scripts.org
- VMware ESXi 8.0 Update 3e free hypervisor – Broadcom Knowledge Base
- Alternative installation methods – Home Assistant
Frequently asked questions (FAQ)
Is Proxmox VE free?
Yes. Proxmox VE is open source under the AGPLv3 licence and every feature works without paying. Optional subscriptions, from €120 to €1,100 per CPU socket a year, add the tested enterprise update repository and technical support, not extra features.
What is the latest version of Proxmox VE?
Proxmox VE 9.2, released on 21 May 2026, is the current version. It is based on Debian 13.5 with the Linux 7.0 kernel, while version 8 reached the end of its security support on 31 August 2026 and should now be upgraded.
How much RAM does Proxmox need for a home server?
Proxmox needs 2 GB for itself, about 1 GB per terabyte of ZFS storage, and then whatever your VMs and containers use on top. For a typical home server, 16 GB is comfortable; add a Windows VM and 32 GB is the sensible size.
Should I use a VM or an LXC container in Proxmox?
Use an LXC container for Linux services such as Pi-hole, Jellyfin or Nextcloud, because it uses far less RAM. Use a full VM for Home Assistant OS, Windows, or anything that needs its own kernel or the strongest isolation.
Can Proxmox VE run on a Raspberry Pi?
Not officially. Proxmox VE is built for 64-bit Intel and AMD (x86-64) processors and there is no official Arm build, so it will not run on Raspberry Pi boards. On a Pi, run Docker or a single-purpose operating system instead, and keep Proxmox for a mini PC or desktop.