
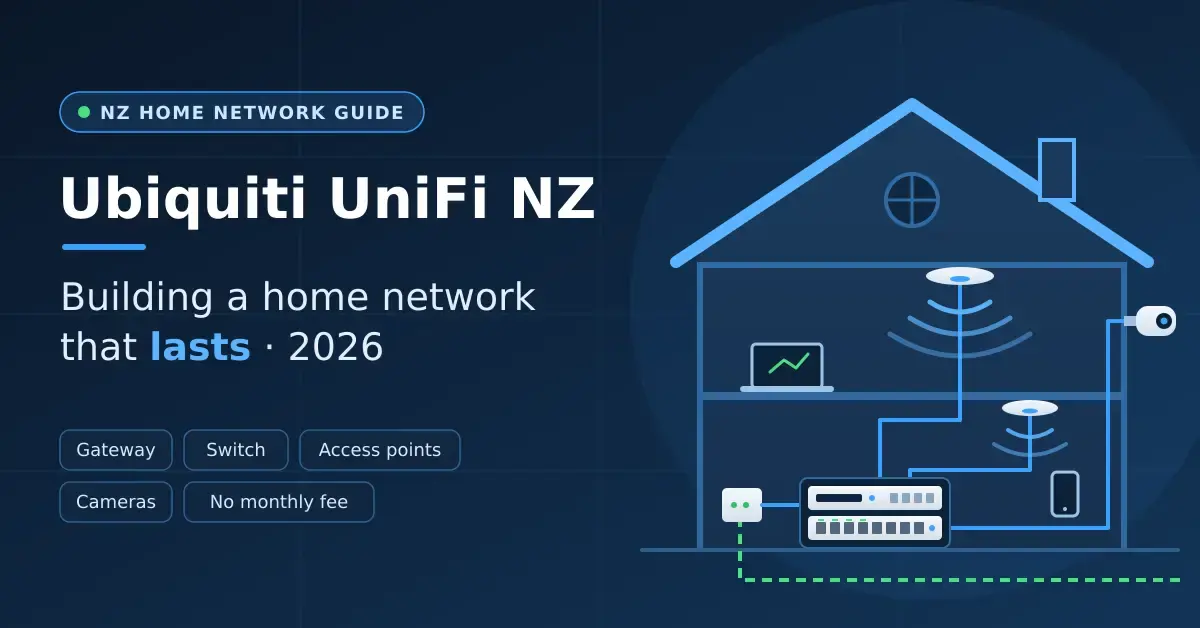
Ubiquiti’s UniFi range is where people land once a consumer router and a mesh kit stop keeping up: a gateway with a real firewall and VLANs, ceiling access points fed over a single Ethernet cable, switches that show exactly what is plugged in where, and cameras that record to hardware you own — all driven from one app with no monthly fee. In New Zealand the entry price has fallen far enough that a sensible starter build costs about the same as a good mesh system. This guide walks through which gateway, switch and access points to begin with, what a home build actually costs at PB Tech prices in September 2026, how to set it up on local fibre, and the cases where UniFi is more than you need.
If you have never run cabling, read our home network setup guide before you buy, because UniFi rewards a wired house. If all you want is Wi-Fi that reaches the back bedroom, a mesh Wi-Fi system is cheaper, simpler and probably the smarter spend.
Key takeaways
- A UniFi starter build for a small home is about NZ$500: a Cloud Gateway Ultra (~$247) plus one U7 Lite access point (~$235). The Express 7 (~$476) does both jobs in one box.
- The real benefits are VLANs that isolate cameras and smart-home gear, wired PoE access points that roam properly, and one app for everything — with no cloud fee.
- Plan on cabling. UniFi access points are designed to be wired; meshing them wirelessly works but throws away the main advantage.
- Hyperfibre 4000+ needs a 10G gateway (Cloud Gateway Fiber or Dream Router 7); a 1 Gbps or Hyperfibre 2000 plan is fine on the Ultra.
- UniFi is overkill for a small home whose ISP router already works, and a poor fit for anyone unwilling to spend an evening learning the app.
What UniFi Is, and Why Kiwi Households Switch
UniFi is Ubiquiti’s family of networking gear built around a single piece of software called the UniFi Network application, which runs on the gateway and configures every UniFi switch and access point from one place. Instead of a router with a stack of settings pages, you get a live map of your network, a client list showing which device is connected to which access point, and the ability to create separate networks in a few clicks. The same gateway can also run UniFi Protect for cameras, and the whole system is managed on your local network or through Ubiquiti’s free remote access.
What does the UniFi controller actually do?
The controller is the brain that adopts each piece of hardware, pushes firmware updates, and holds all your settings in one dashboard. Because it lives on the gateway rather than in a paid cloud, your configuration keeps working even if the internet drops, and you are not renting access to your own network. A “VLAN”, short for virtual LAN, is simply a separate network that runs over the same cables and switches — the controller lets you spin one up and decide what it is allowed to reach.
Why do New Zealand households switch to it?
Three things bring people across. The first is Wi-Fi that genuinely roams: ceiling-mounted access points on cables, one per floor or wing, with the controller steering a phone between them as you walk through the house. The second is isolation — putting cheap smart-home gadgets and cameras on their own VLAN where they cannot see your laptops or NAS. The third is visibility, because when something is slow you can see exactly what it is talking to. None of that needs a subscription, which is the core difference between UniFi and most cloud-managed alternatives. It also scales in one direction only, which suits growing homes: you can start with a gateway and a single access point and keep adding switches, cameras and access points to the same controller for years without changing app, account or approach.
Choosing the Right Gateway for Your Connection
The gateway is both the router and the controller, so pick it to match your broadband plan and to whether you want cameras recording locally. The full lineup is on Ubiquiti’s Cloud Gateway range, and street pricing in New Zealand tracks the Cloud Gateway Ultra listing at PB Tech and its siblings. The table below compares the models most NZ homes actually consider.
UniFi gateway comparison
| Gateway | NZ$ (Sept 2026) | WAN | Built-in Wi-Fi | Local camera recording | Best for |
|---|---|---|---|---|---|
| Cloud Gateway Ultra (UCG-Ultra) | ~$247 | 2.5G (+4x 1G LAN) | No | No — needs a separate recorder | Fibre 300 to Hyperfibre 2000 with wired APs |
| Express 7 (UX7) | ~$476 | 10G (+2.5G LAN) | Wi-Fi 7 tri-band | No | Small home in one box, Hyperfibre-ready |
| Dream Router 7 (UDR7) | Check listing | 10G + 2.5G | Wi-Fi 7 tri-band | Yes — microSD, expandable | Small home with a few cameras |
| Cloud Gateway Max (UCG-Max) | ~$699 | 2.5G (5 ports) | No | Yes — built-in NVMe storage | Cameras plus a busy wired home |
| Cloud Gateway Fiber (UCG-Fiber) | ~$668 | 10G + 2.5G | No | Yes — NVMe (tray sold separately) | Larger homes, cameras, Hyperfibre 4000+ |
For most homes on Fibre 300 or Fibre Max, the Cloud Gateway Ultra is the pick: a 2.5G WAN port, four gigabit LAN ports and enough processing headroom to route a full gigabit with the security features switched on. The Express 7 suits an apartment or compact house where a single Wi-Fi 7 radio in the middle covers everything and you want one small box. Anyone who wants cameras to record on the gateway itself needs a model with storage — the Cloud Gateway Max, Cloud Gateway Fiber or Dream Router 7 — or a separate UniFi network video recorder. Our modem router guide explains which WAN port speed each NZ plan actually needs before you spend up.
Access Points and Switches
Which UniFi access point should you buy?
UniFi access points are ceiling or wall discs powered over Ethernet, so a single cable carries both data and power. The U7 Lite (about NZ$235) is the 2026 default: dual-band Wi-Fi 7 with a 2.5G PoE port, which is plenty for any floor of a normal house — you can check current stock on the U7 Lite listing at PB Tech. Step up only if you have a reason: the U7 Pro (about NZ$447) adds the 6 GHz band and six streams for device-dense or Hyperfibre homes, the U7 Long Range (about NZ$486) reaches further across big open-plan spaces, and the U7 Outdoor (about NZ$450) is weatherproofed for a deck, sleepout or yard. Plan one access point per floor or wing, cabled back to a switch, and mount it centrally on the ceiling rather than hiding it in a cupboard. Wi-Fi 7 is the current standard and is fully backward compatible, so older phones and laptops connect fine; the newer radios mainly help by handling many devices at once more gracefully rather than by making a single download dramatically faster.
Do you need a UniFi switch?
You need a PoE switch as soon as you run more than one cabled access point or add cameras, because that is what powers them down the Ethernet cable. The USW-Lite-8-PoE (about NZ$281) is the usual first switch and powers four devices; the tiny USW-Flex-Mini (about NZ$75) is a five-port unit for behind the TV; and the USW-Flex-2.5G-8-PoE (about NZ$534) is the one to buy if you are running Wi-Fi 7 Pro access points and a NAS that all want 2.5G. Any non-UniFi switch works too, and it will pass PoE and data fine — you simply lose the port-level visibility inside the app. Our home network switch guide covers PoE power budgets, and Ubiquiti’s PoE availability and modes reference lists exactly which ports supply power on each model.
What a UniFi Build Costs in New Zealand
A UniFi build scales with the size of the house, the speed of the plan and whether cameras are in the picture. The three example builds below use September 2026 PB Tech prices, incl. GST and rounded; cabling, keystones and wall mounts are extra in every case.
| Build | What it includes | Approx. NZ$ |
|---|---|---|
| Starter (single-storey, Fibre Max) | Cloud Gateway Ultra + one U7 Lite + PoE adapter | ~$505 |
| Family (two-storey, a few cameras) | Cloud Gateway Max (records locally) + USW-Lite-8-PoE + second U7 Lite + three UniFi Protect cameras | ~$1,800–$2,000 |
| Hyperfibre / large home | Cloud Gateway Fiber + USW-Flex-2.5G-8-PoE + two U7 Pro + one U7 Outdoor | ~$2,500 |
The starter build is the one to copy for most single-storey homes: about NZ$505, and you can add a second access point or a PoE switch later without replacing anything you already bought. The family build adds a gateway that records cameras to its own storage, a PoE switch and a second access point upstairs. The Hyperfibre build is only worth it on a genuine multi-gigabit plan with storage fast enough to use it; on a standard fibre plan that money buys speed no device in the house can actually consume.
What does a UniFi network cost to run?
Very little. A Cloud Gateway Ultra draws only a few watts, and each access point adds a handful more over PoE, so a typical starter build sips power much like the ISP router it replaces. Cameras and extra switches lift that, but a two-access-point home with a PoE switch still runs comfortably under the consumption of a single always-on desktop. There is no ongoing licence or cloud fee to budget for either — the recurring cost of UniFi is effectively the electricity.
Setting Up UniFi on New Zealand Fibre
Getting UniFi onto a local fibre connection is straightforward once the gear is adopted. Ubiquiti’s getting-started guide covers first boot; the steps below are the New-Zealand-specific order.
- Cable the gateway’s WAN port to the ONT (the fibre box on the wall). In the UniFi app, set the internet connection to DHCP or PPPoE as your ISP specifies, and enter the WAN VLAN ID, which on most NZ fibre plans is 10.
- Adopt the switch and access points. Plug them in and the app finds them automatically; adoption takes about a minute each, and firmware updates run straight afterwards.
- Create your networks. A main network for computers and phones, an IoT VLAN for smart-home devices with client isolation on, a camera VLAN with no internet access, and a guest network.
- Set up Wi-Fi. One SSID for the main network broadcast across every access point, a separate SSID mapped to the IoT VLAN with 2.4 GHz allowed, and a guest SSID. Leave band steering and the default channel widths on to start.
- Retire the ISP router. Switch off its Wi-Fi and routing, or remove it entirely; a home phone that ran through it will need an analogue telephone adapter on the new network.
- Enable remote access with two-factor authentication if you want to manage the network away from home, and never forward the gateway’s admin port straight to the internet.
UniFi also sits happily behind other connection types. Behind Starlink, put the dish in bypass mode using its Ethernet adapter and let the gateway do the routing; behind a 4G or 5G wireless modem, turn that modem’s Wi-Fi off but leave the unit in place because it holds the SIM. Our Starlink Wi-Fi guide walks through the bypass setup in detail.
Common Mistakes to Avoid
Most UniFi disappointment comes from a handful of avoidable errors rather than the gear itself.
- Meshing access points wirelessly. UniFi APs can link to each other over Wi-Fi, but that roughly halves their throughput and throws away the main reason to buy the system. Run a cable to every access point.
- Hiding the access point. Tucking an AP inside a media cabinet or a cupboard cripples its range. Ceiling-mount it near the centre of the area it serves.
- Locking yourself out with VLANs. Firewall rules and camera VLANs are powerful, but a wrong rule can block you from your own devices. Change one thing at a time and test before moving on.
- Forgetting the WAN VLAN. If the connection will not come up on NZ fibre, the missing VLAN 10 tag on the WAN is the usual culprit.
- Overbuying. A 10G gateway and Pro access points are wasted money unless you are on Hyperfibre with hardware fast enough to use it. The Ultra and U7 Lite cover the vast majority of homes.
When UniFi Is Overkill
- A small home where the ISP router already works. Nothing UniFi adds will be noticeable, and you will have spent hundreds to break even.
- No cabling, and no plan to add any. A mesh system with wireless backhaul does that job better and cheaper than UniFi access points meshing to each other.
- You want it to just work without reading anything. The app is friendly, but VLANs and firewall rules reward a little study.
- Cameras are the only goal. A standalone recorder kit is cheaper than UniFi Protect unless you also want the network features — our home security camera guide compares the options.
Our Verdict on UniFi at Home
Start with a Cloud Gateway Ultra and one U7 Lite, about NZ$500, and grow the system from there: a PoE switch when you add cameras, a second access point when you add a floor. Cable the access points, because that is the whole point of the platform. Use the VLANs — gadgets and cameras on their own isolated networks is the single security upgrade most New Zealand homes are missing. And skip the 10G gateways and Pro access points unless you are genuinely on Hyperfibre with a NAS to match. Bought that way, UniFi is a home network that keeps up for years rather than one you replace at the next Wi-Fi standard.
Prices are NZ$ incl. GST as listed by PB Tech in September 2026, rounded, and change often; some models were not shown with a price at the time of writing. Nicegear is independent and carries no paid placements.
Sources
Frequently Asked Questions
Is Ubiquiti UniFi worth it for a home?
Yes, if you have run cabling or will run it, and you want VLANs, wired access points and one app for the whole network. A starter build is about NZ$500. If your ISP router works well and you will not cable anything, a mesh system is the better buy.
What UniFi gear do I need to start?
A gateway and one access point: a Cloud Gateway Ultra (about NZ$247) with a U7 Lite (about NZ$235) and a PoE adapter, or the all-in-one Express 7 (about NZ$476) for a small home. Add a PoE switch once you add cameras or a second access point.
Does UniFi need a subscription?
No. The UniFi Network and Protect applications run on your own gateway, and remote access through a free Ubiquiti account costs nothing. Optional paid services exist for businesses, but a home network does not need them.
Does UniFi work with NZ fibre and Hyperfibre?
Yes. Set the WAN to your ISP’s DHCP or PPPoE settings with VLAN 10. The Cloud Gateway Ultra handles up to Hyperfibre 2000 through its 2.5G WAN, while Hyperfibre 4000 and 8000 need a 10G gateway such as the Cloud Gateway Fiber or Dream Router 7.
How many UniFi access points does a house need?
About one per floor or wing, ceiling-mounted near the middle. A single-storey home up to roughly 200 square metres is usually one U7 Lite; a two-storey home is two; add an outdoor unit for a deck or outbuilding.