Level Up Your Gaming Experience
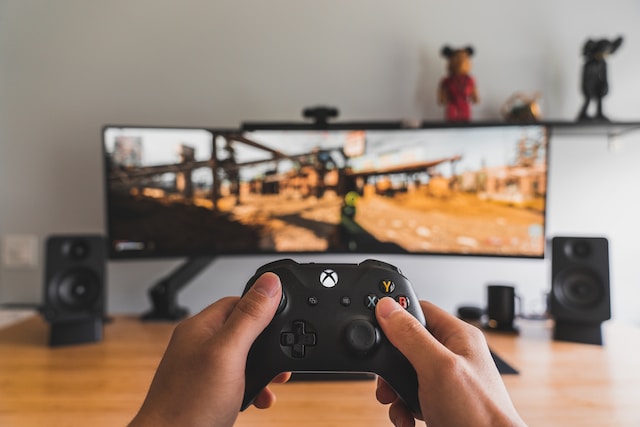
Get ready to embark on an exciting journey as we explore insightful tips and tricks that will transport you to new dimensions of excitement and
Get ready to embark on an exciting journey as we explore insightful tips and tricks that will transport you to new dimensions of excitement and

OpenOffice is a popular and widely used open-source alternative to the well-known and widely utilized Microsoft Office. It provides a comprehensive suite of applications for

We all use it, and technically we know what it is, but if I asked you to define Wi-Fi, would you be able to? Wi-Fi

In today’s digital landscape, where networks handle diverse applications and traffic types, ensuring a seamless user experience is paramount. Quality of Service (QoS) emerges as

In today’s interconnected world, Ethernet has become a ubiquitous term in the realm of computer networking. Whether at home, in the office, or across the

VLC media player is a free and open-source multimedia player developed by the VideoLAN project. It is one of the most popular media players available